You can always use Workspace Webmail to send and receive email messages. But you also can view your email with an email client.
-
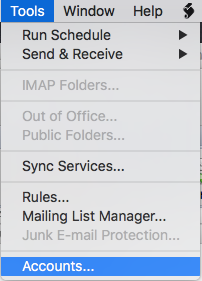
- Open Outlook 2011.
- Click the Tools menu, and then select Accounts.
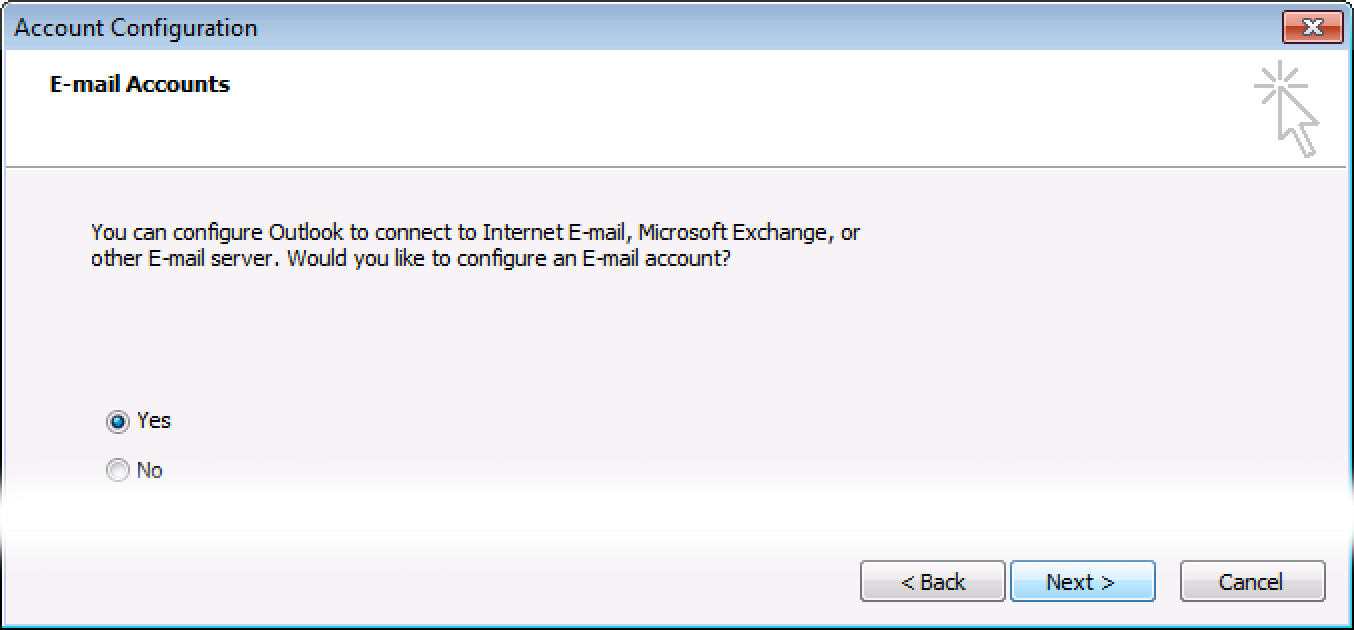
- The next step will depend on whether you have an email account already set up in Outlook.
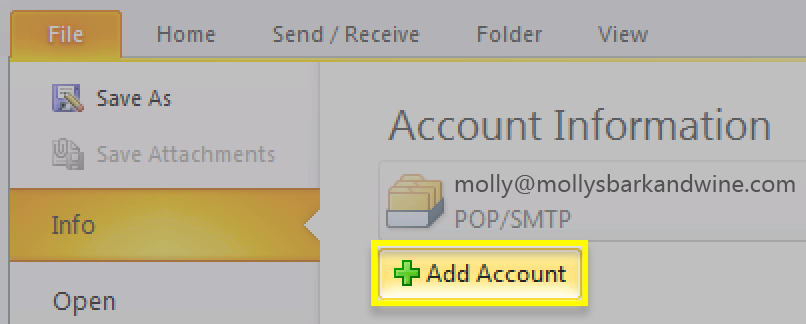
If you… Do this… HAVE set up an email account Click + (Add account), and select Other Email… 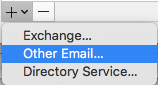
HAVE NOT set up an email account Click  Other Email button
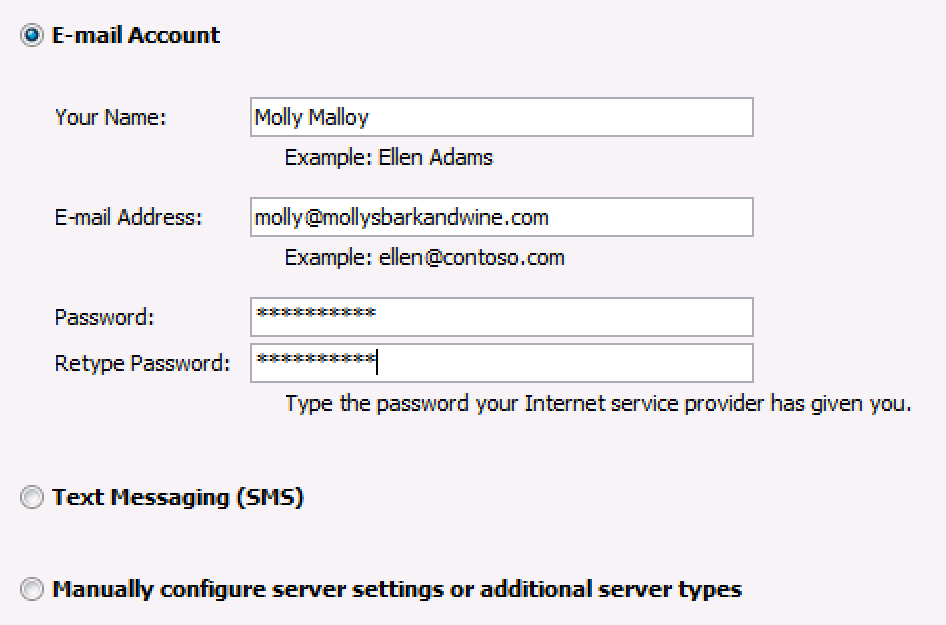
 - In the E-mail Address field, enter your full email address.
- In the Password field, enter your email password.

- In the User name field, enter your full email address.

- Next to Type, select your server type. This information is displayed in your Workspace Email Setup Center.
- In the Incoming server field, enter your incoming server address.
Type Incoming server address IMAP imap.secureserver.net POP pop.secureserver.net 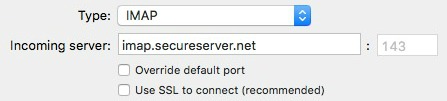
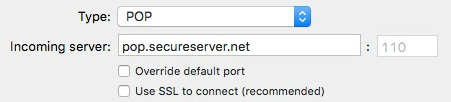
- Enter an incoming server port:
Port with SSL Port without SSL IMAP 993 143 POP 995 110 Note: Select Override default port to change the port.
- Select Use SSL to connect if you are using a port with SSL.
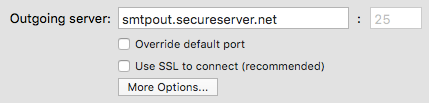
- In the Outgoing server field, enter smtpout.secureserver.net.

- Enter an outgoing server port:
Outgoing server Port with SSL 465 Port without SSL 25, 80, 3535 Note: Select Override default port to change the default port.
- Select Use SSL to connect if you are using a port with SSL.
- Click Add Account.
- Underneath the outgoing server settings, click More Options.
- From the Authentication menu, select User Name and Password.
- Enter your full email address, and password.
- Click OK.
Note: As a courtesy, we provide information about how to use certain third-party products, but we do not endorse or directly support third-party products and we are not responsible for the functions or reliability of such products. Outlook is a registered trademark of Microsoft Corporation in the United States and/or other countries. All rights reserved.
*** Create email address from your cheap domain registration now.