You can set up your Workspace email in Microsoft® Outlook 2010. We recommend using the Outlook Setup Tool, to automatically set up your email in Outlook 2010. But if you want to set up your email yourself, follow these instructions.
You need to turn on Outlook Easy Setup in your Workspace account, first. This creates an autodiscover record that makes set up simpler. Read more about Outlook Easy Setup.
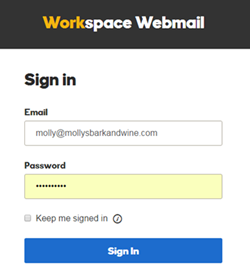
- Log in to your Workspace Email account and open your product. (Need help logging in?)
- In your Workspace account, click the Tools menu.
- Select Email Setup Center.
- If you have email set up for multiple domains, from the Domain list, select the domain you want to use.
- Under Outlook Easy Setup, click the On/Off toggle switch, and make sure it says on.
Now you can set up your Workspace email in Outlook 2010.
- Open Outlook 2010.
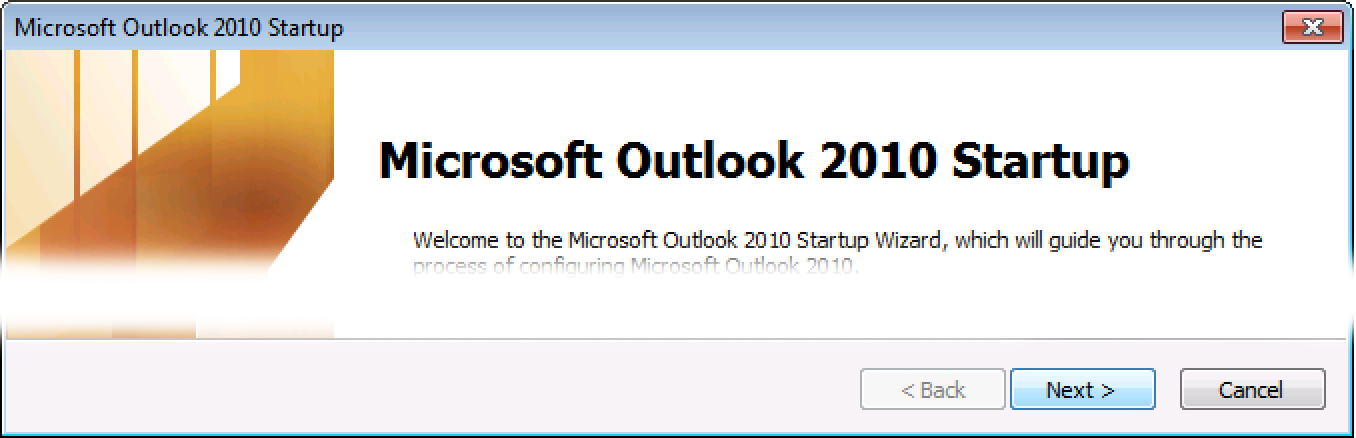
- If this is the first time you’ve opened Outlook 2010, you’ll see a welcome screen.
- Click Next.
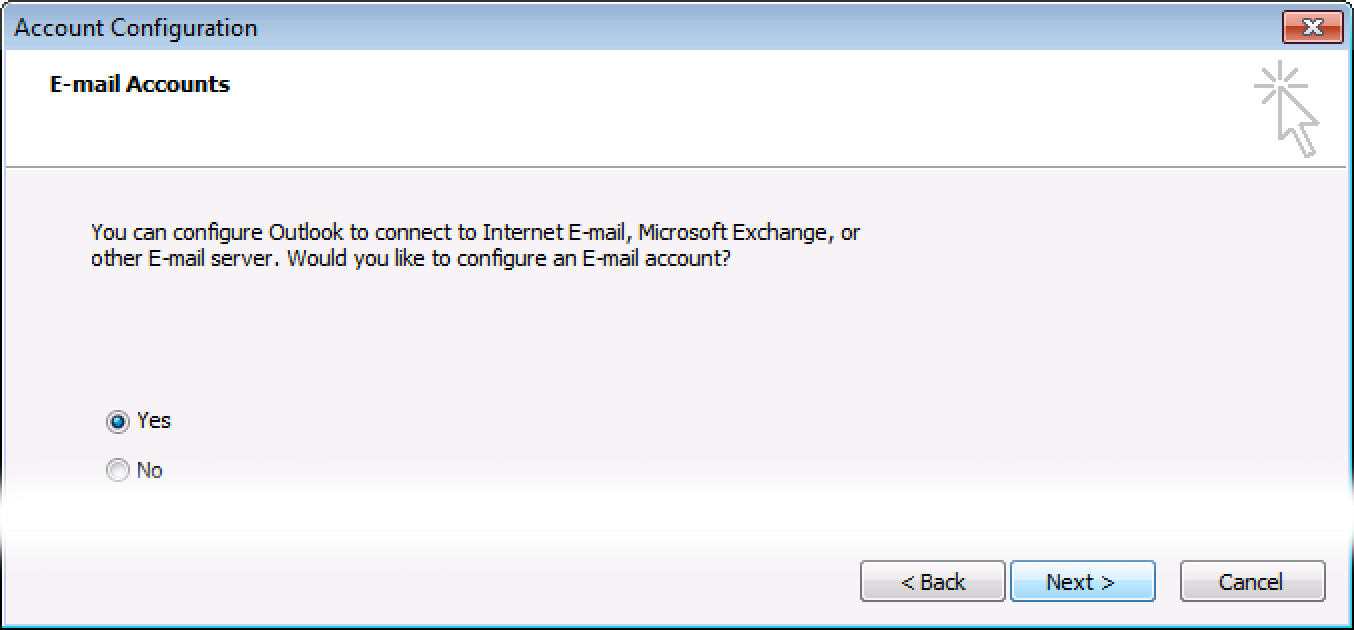
- Select Yes, and click Next.
- Click Next.
- If you’ve already set up an email address Outlook 2010, you’ll see the inbox screen.
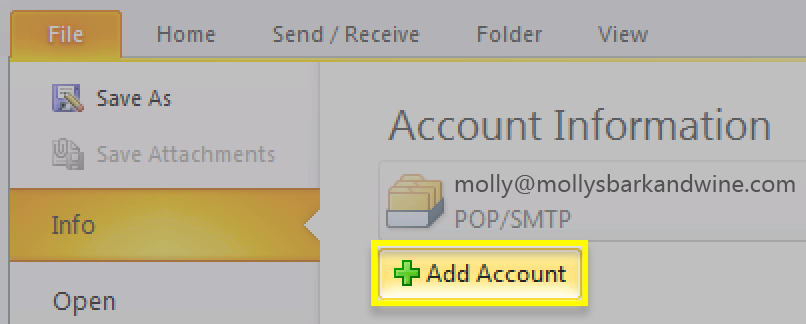
- Click File.
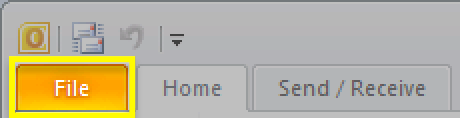
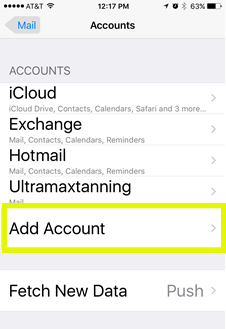
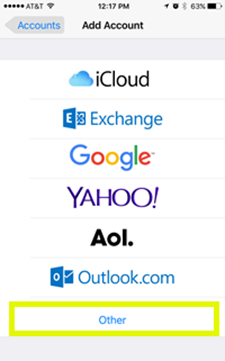
- Click Add Account.
- Click File.
- Make sure E-mail Account is selected, and enter your Workspace email details.
Field What to enter Your Name The name you want to show as the From display, on your emails E-mail Address Your Workspace email address Password Your Workspace email password Retype Password Your Workspace email password, again 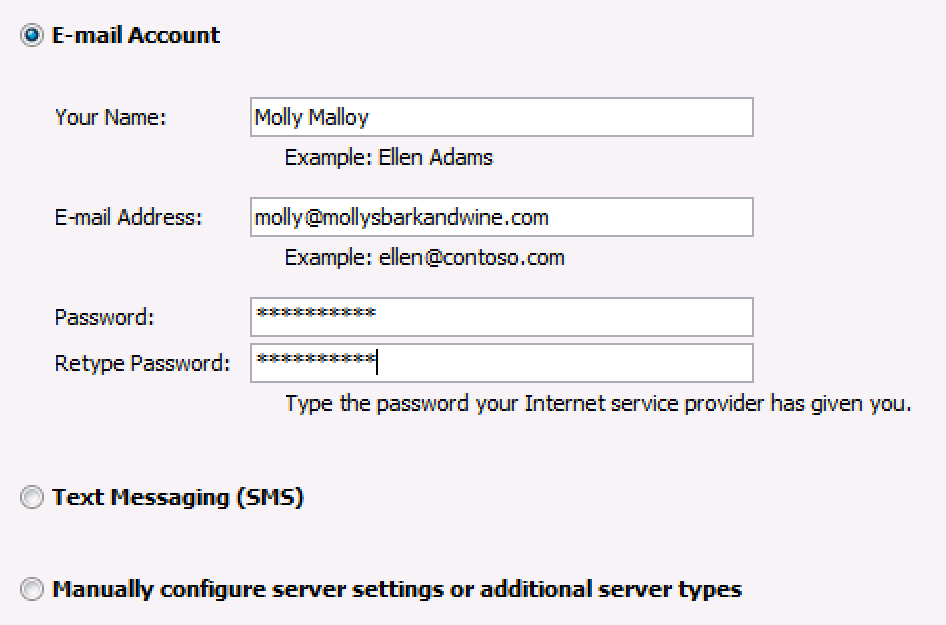
- Click Next.

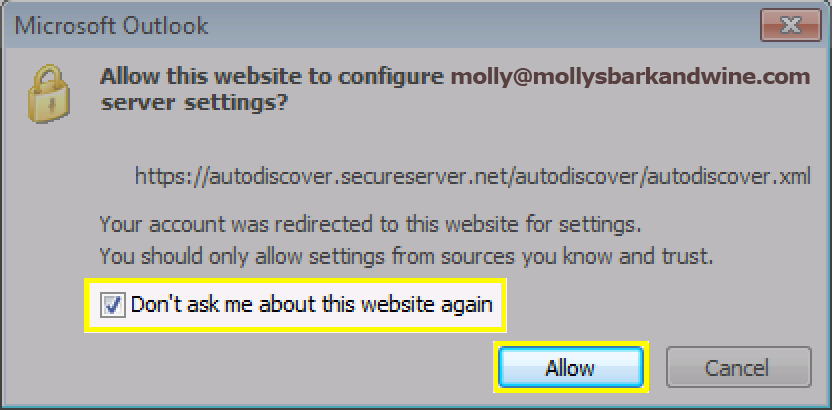
- Outlook 2010 will test your settings. You may see a pop-up window asking if you want to Allow this website to configure… Select Don’t ask me about this website again, and click Allow.

- When Outlook 2010 is finished setting up your account, it will say Congratulations! Click Finish.

That’s it! Your email is now set up in Outlook 2010.
Next step
- Send yourself an email in your webmail, to make sure everything is working. Then reply to that email from Outlook, to be sure your outgoing settings are correct, too.
- If you’re having any trouble, please see: Outlook 2010 and 2013: Troubleshooting Email
More info
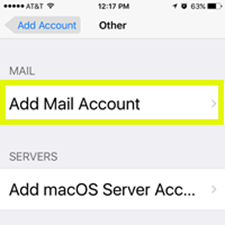
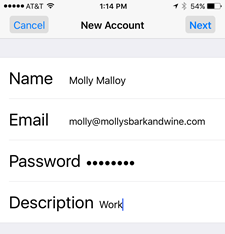
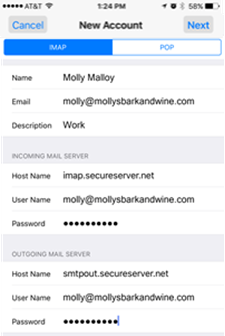
- Set up your Workspace email on your phone:
Note: As a courtesy, we provide information about how to use certain third-party products, but we do not endorse or directly support third-party products and we are not responsible for the functions or reliability of such products. Third-party marks and logos are registered trademarks of their respective owners. All rights reserved.


 button to go back to the Settings screen.
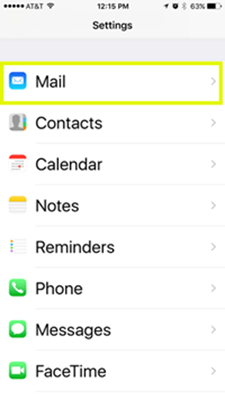
 to open the app.